Disclosure: This post may contain affiliate links, meaning if you decide to purchase something via my links, I may earn a commission at no additional cost to you.
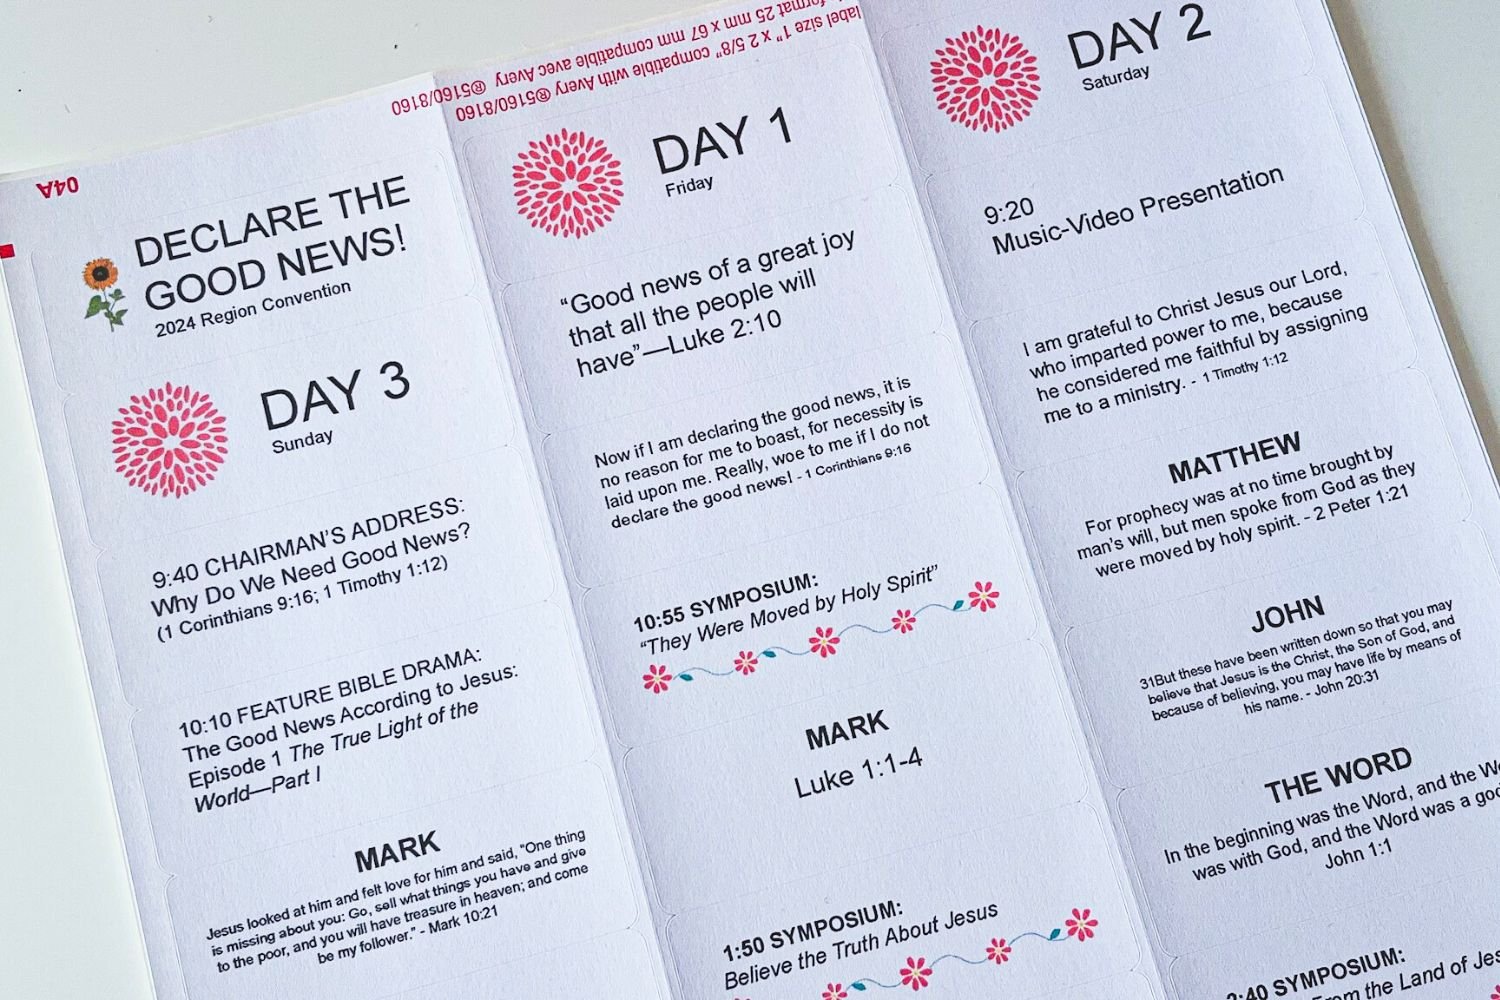
While I personally don’t take notes on paper during conventions (I prefer digital ones), I know that many of you do and also like to use stickers to add some flair to your notes. So, I wanted to share with you a simple DIY idea for creating custom stickers for the convention in any language you like.
What do you need to create the stickers?
To make convention stickers, you will need the following items:
– Avery sticker paper (template 5160)
– Avery online design tool
– Printer
Avery stickers are typically used as address labels, but any other labels that are compatible with the Avery 5160 template will work just fine. This way, you can customize your stickers with your preferred language and add a personal touch to your convention notes.
In the videos below, I will walk you through step by step how to design stickers.
1. Let’s Open Online Designer
After getting your labels, visit avery.com and find the template.
2. Let’s Add Text
In this video, I will walk you through how to add text to the labels.
3. Let’s Add Shapes
4. Let’s Add Images
5. Let’s Add Scripture
6. Saving Your Project
7. Download & Print
Greetings! I am Alla Lily, and I have been on a quest to make my personal study more enjoyable and effective. My journey has led me to create Daily Text Printables a tool that can help you transform your spiritual study routine and boost retention and comprehension of the material. Read more.

